Wet Wool Felting
The wet-felted craft is done by fulling or agitating the sheep wool fibers against a rough surface, such as a washboard, which interlocks wool fibers together. In our study, “This Is How I Felt: Crafting Conductive Wool Artefacts as an Embodied Practice to Regulate Anxiety”, we explored what happens when you combine traditional wet wool felting with conductive materials. Participants consistently lost track of time, felt a decrease in anxiety and discovered an increase in inspiration and creativity.
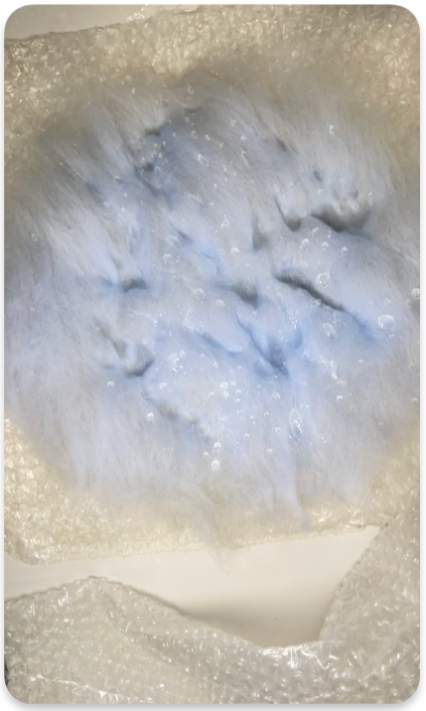
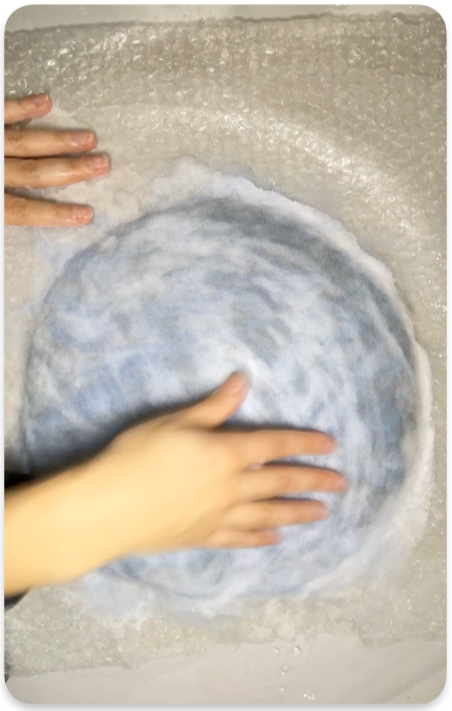
For the special felting project, it requires warm water, soap, and raw sheep wool, as well as conductive wool fibres, a textured surface like bubble wrap or another rough surface and a towel. The combination of soap and warm water helps to relax the fibres, making them more flexible and increasing the friction between them.
Step-by-Step
Tools
- Warm water
- Soap (e.g. olive-based soap)
- Merino sheep wool (Merino wool is ideal for felting as it is quite fine, soft, and easy to source)
- Conductive wool (The conductive wool that was used is a blend of sheep wool with stainless steel fibres in an 82/18 ratio and came in a dull light grey colour from Bekinox®)
- Textured surface (e.g. bubble wrap for the agitation process)
- A towel
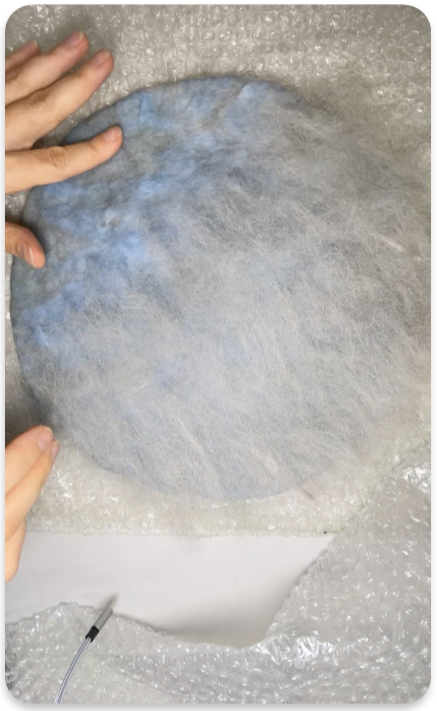
Adding Layers
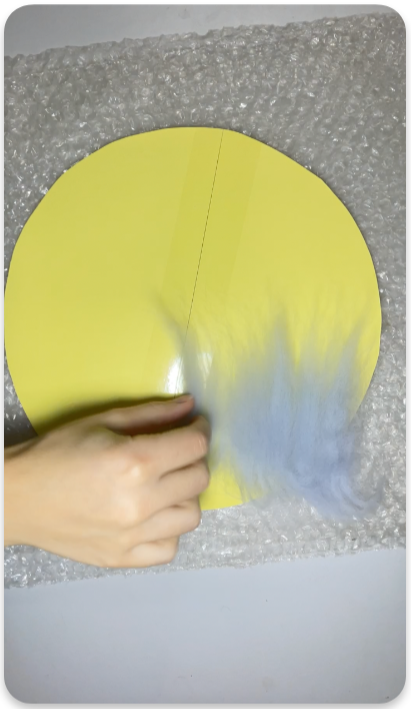
Hold a roll of wool in one hand and gently pull small pieces of wool fibres by pinching the wool between your fingertips and the base of your palm, then pull. After pulling, release the fibres and lay them down on your structured surface in one direction, followed by another layer in a perpendicular direction.
Making it Conductive
While adding layer by layer, you can start putting thin layers of conductive wool in between and let them weave into the Merino wool layers. The conductive wool (W 12/18) used is a blend of sheep wool with stainless steel fibres in an 82 (wool) / 18 (Bekinox®) ratio. It comes in a dull light grey colour and is produced by Bekinox®.
Forming your project
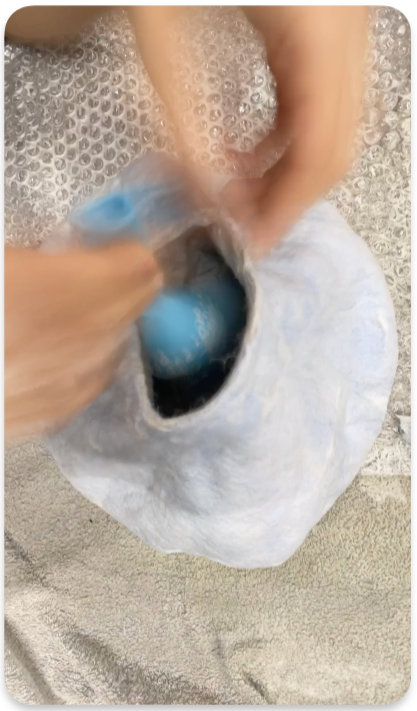
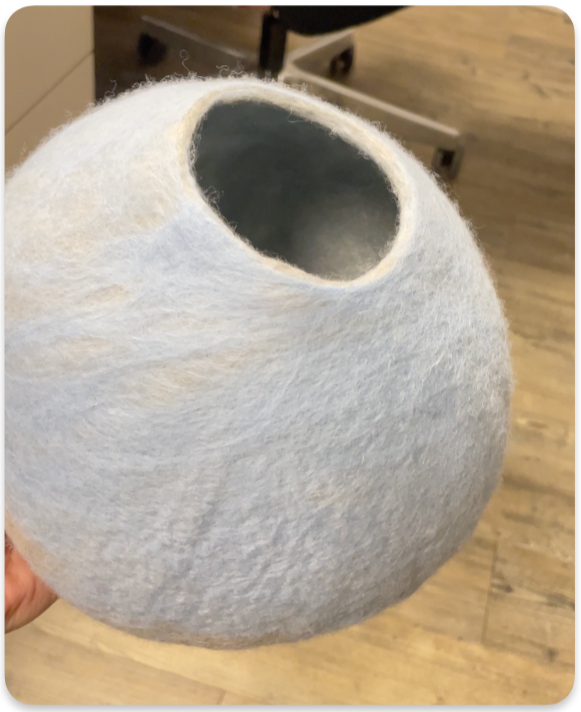
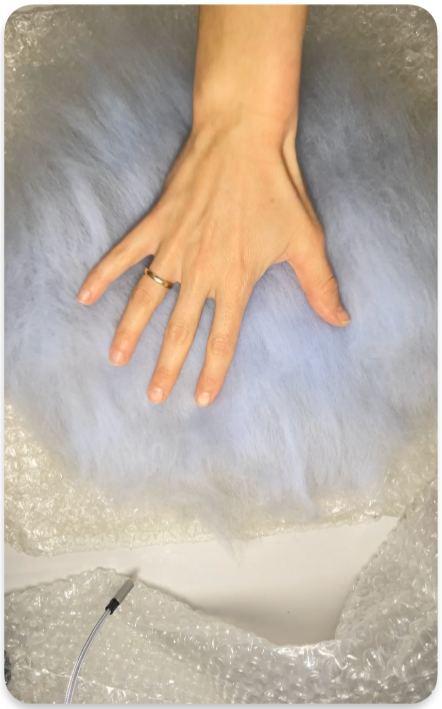
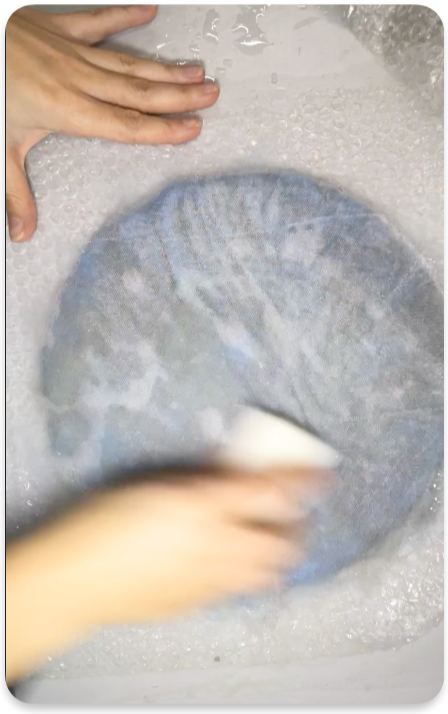
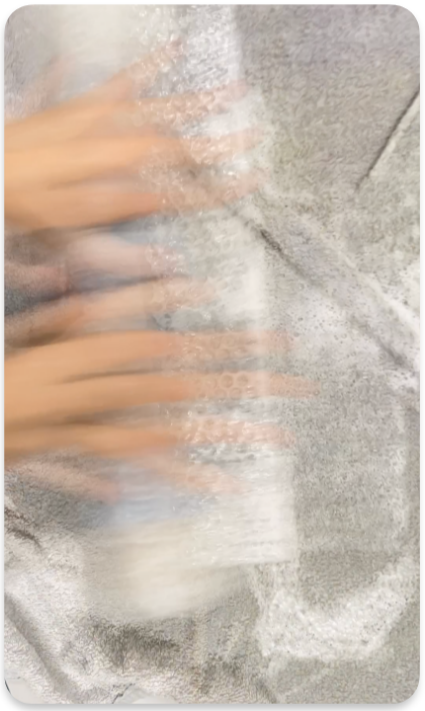
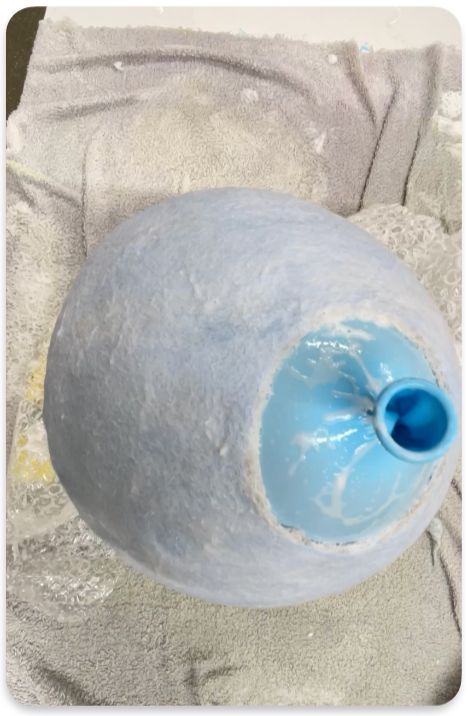
By rubbing, rolling, and squeezing the wool with your hands and a textured surface, the fibres start to catch onto each other and create a solid fabric over time. By repeating this process, flat or even 3D shapes can be formed. Repeatedly adding the warm water–soap mix and rubbing the wool on the rough surface will cause it to shrink over time. As the wool gets firmer, use a resist-like object (e.g. made of foam) and place the wool layers around it to create a hollow shape. Finish felting around the object.

Finishing your project
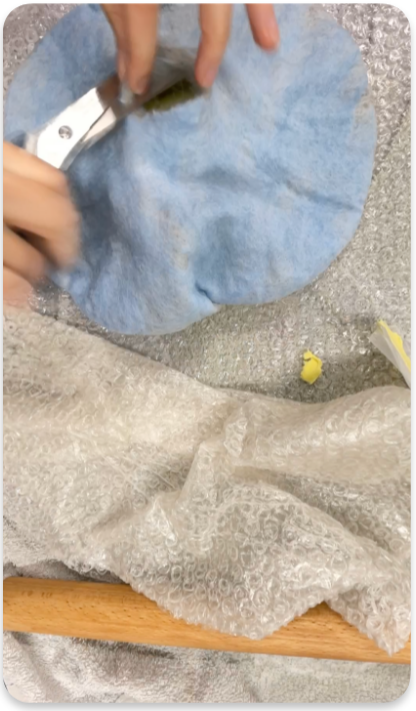
When finished, rinse your felt-project, that sits around the e.g. foam object, with cool water to remove all soap residue and let it dry in the desired shape. Remove the object once the felt is completely dry (this can take several hours to a full day, depending on the thickness and size).